

Pure and Simple Beeswax Candles
A quick little guide to get you started making the easiest, and cleanest candles. You’ll be supporting your local farmer and have the convenience of making these right in your kitchen with a few simple items. I’ll walk you through the process of making these beautiful candles using natural beeswax. Once you get the hang of it, it is SO easy. I can whip up 4 candles in less than 30 mins.
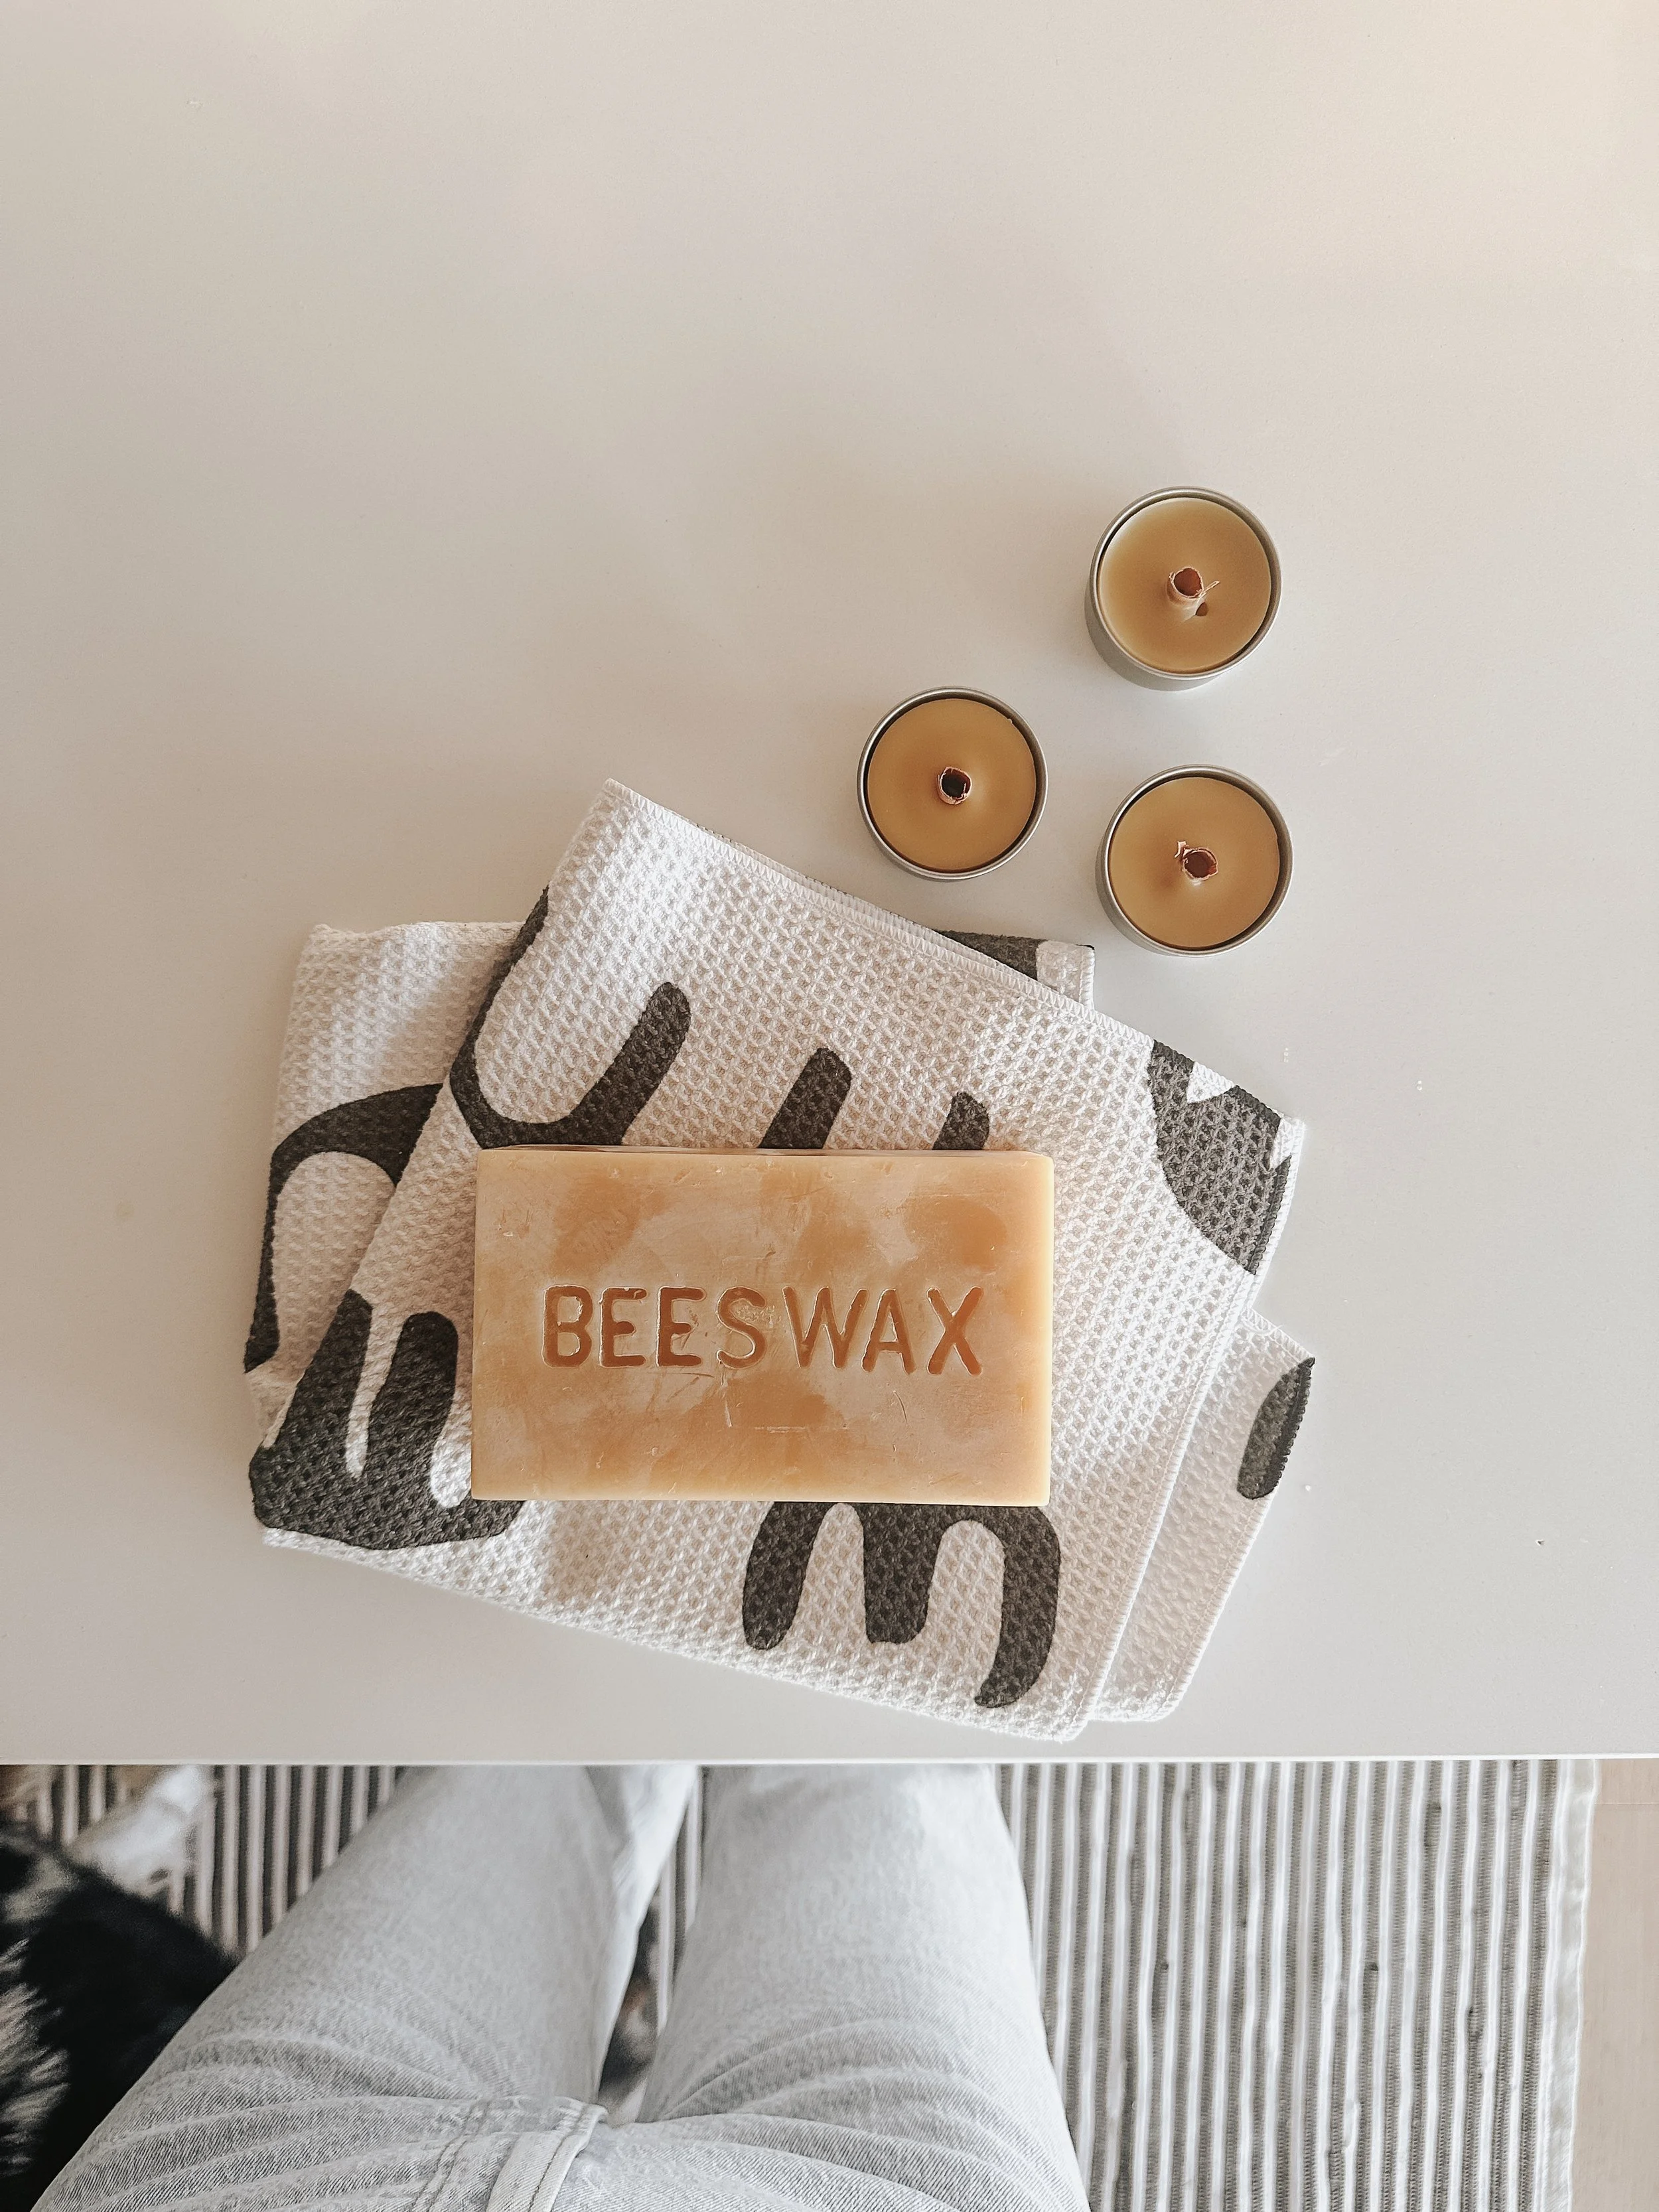
Not only are these candles eco-friendly and sustainable, but they also emit a subtle honey scent that adds warmth and coziness to any space.

I used to make more complex Christmas and Spring candles- sometimes, I still make small batches for friends and followers.
There is something so pure and lovely about a beewax candle though. Also a great way to begin!
Let’s get started! You will need the following materials:
Beeswax Block (I would suggest searching facebook marketplace, your local farmers market or craigslist). Get to know your farmer- and make sure to buy raw honey too. Ideally, you already have a source for raw local honey, and you can just ask for wax! If you can’t find local, try Etsy. Here is a good MN beeswax and I have bought honey from them before.
Candle Vessels You will need a container to put the wax in. You can use something as simple as a glass ball jar. Reusing a candle jar from one you have already burnt (TIP: Place the old candle in the freezer, and the old wax will “pop” right out after 24 hours. Clean with super hot water, and reuse the vessel). I love going to the thrift store and finding beautiful or unusual vessels- just make sure they aren’t flammable. Usually glass is best. Last resort is to buy new, you can- of course, but the simplicity is here is key!
Wicks I prefer a wooden wick. They are clean and easy to work with. Truth be told, I have tried so many and landed on these. Disclaimer, their customer service is not the best- but their wicks are nice. You’ll want to make sure you get wick clips as well, either round or flat depending on which wicks you choose- cheaper on amazon. If you want to try these wicks from Amazon, they have really good reviews, and considering the price- worth a shot!
Glue Gun You’ll use the glue gun to secure the wick holder to the bottom of the vessel
Double Boiler or Melting Pot Still to this day, I use a very old pot (like something you would make potatoes in) dedicated to candle making, and a metal pitcher. You could also buy one at the thrift store, and then just order this pitcher. If you want to get fancy, a wax melter. (but in my opinion, not needed). Essentially, the water in the pot will be boiling and melt the wax in the pitcher (which is sitting in the pot). Does that make sense?
Wick Trimmer You may already have one, but essential for candle making and burning. I have this $6 one and works great.
Thermometer Inexpensive one dedicated to candle making- wax will likely not all come off.
Essential Oils- You can put EO’s into beeswax. The smell will be faint, but it does work. I like to keep my beeswax candles simple, but just an option for you. I use Far and Wild Oils and my code is: Anna20
There is a little initial investment, but having the ability to make a candle anytime is 100% worth it, and you will literally be saving money and cleaning your air.
PS- Did you know beeswax burns the brightest of all waxes?
Isn’t nature amazing?
Ready to Make?
Step 1: Prepare Your Workspace Set up a clean and clutter-free area for candle making. Protect your surfaces with newspaper or a silicone mat to catch any drips or spills. I actually just scrape any drips off with my finger nail- call me crazy!
Step 2: Melt the Beeswax Using a double boiler or melting pot, melt the beeswax over medium heat. Monitor the temperature with a thermometer and aim for around 145-150°F (63-66°C). Be cautious not to overheat the wax, as it can lose its beneficial properties.
Step 3: Prepare the Wick While the beeswax is melting, prepare your wick. Attach the wick into it’s holder and then hot glue it to the bottom of the of the vessel to keep it centered in the candle.
Step 4: Add Fragrance (Optional) If you prefer scented candles, now is the time to add essential oils to the melted beeswax. Stir gently to ensure the fragrance is evenly distributed.
Step 5: Pour the Wax Once the beeswax is fully melted and any fragrance is added, carefully pour it into vessel or mold. If you're using a mold, make sure it's properly secured to prevent leaks.
Step 6: Let It Cool Allow the candle to cool and solidify completely. This process may take several hours, depending on the size of your candle. I don’t burn mine for 24 hours.
Step 7: Trim the Wick Once the candle has hardened, trim the wick to about ¼ inch (0.6 cm) above the surface of the wax. This helps prevent excessive smoking and ensures a clean, even burn. You may need to re-trim after burning.
Step 8: Enjoy Your Handcrafted Beeswax Candle Congratulations, you've successfully created your own beeswax candle! Light it up, sit back, and bask in the warm glow and subtle aroma of your handmade creation.

DIY beeswax candles are not only a fun and rewarding activity but also a sustainable way to enjoy the cozy ambiance of candlelight. Experiment with different shapes, sizes, and fragrances to create unique candles that suit your style and preferences. I like to make batches and have them on hand for gifts, and any cloudy days! Make sure to follow us on Instagram if you don’t already.
Happy candle making.
@call.it.christian -Anna